Getting Started with UniFi Dream Machine: A Step-by-Step Guide
A Guiide to Getting Started With UniFi Dream Machine
Are you ready to turbocharge your small business or home network? UniFi Dream Machine can make this happen. The Dream Machine is a powerful networking solution that offers both experienced and novice users a seamless integration and powerful features. This step-by-step tutorial will guide you through getting started with UniFi Dream machine.
Step 1: Unboxing Hardware and Setting it up
Unboxing your UniFi Dream Machine is the first step. Get familiar with all of its components. In the box you'll find the Dream Machine, a power adapter and an Ethernet cable. Connect the Dream Machine to the power adapter and plug it in a power outlet. Connect the Ethernet cable with one end on the WAN port and the other to the modem or ISP Gateway.
Step 2: Connecting the Dream Machine
After the hardware is set up, you can connect to the Dream Machine management interface. Open a web browser on your computer or mobile device and enter "https://unifi.ui.com" in the address bar. This will bring you to the UniFi Network Controller.
Step 3: Create a UniFi account
Click on "Sign Up", if you do not have an UniFi account. Follow the instructions to create an account. Fill out the required information. Sign in with your UniFi credentials if you already have an account.
Step 4 Adopting Dream Machine
You will be asked to adopt Dream Machine after signing in. Wait for the adoption to be completed before clicking the "Adopt button". After adoption, you'll have complete control over Dream Machine settings and configurations.
Step 5 Basic Configuration
It's now time to configure your basic network settings. Begin by selecting the country and naming your network. You can adjust the general settings and set your preferred time zone.
Step 6: Wireless Network Setup
Click on "Create New Wireless Network". If you wish to create a wireless network click the "Wireless Networks "section and then the "Create New Wireless Network button. Enter a name (SSID), and select the security settings you want. You can configure advanced options, such as guest networks and VLANs.
Step 7 LAN and WAN configuration
You can set up LAN and WAN connections in the "Network section". You can change the default settings if necessary.
Step 8 - Fine-tuning and Advanced Features
After the basic configuration, you can explore advanced features and fine tune your network settings. UniFi Network Controller offers a variety of options including firewall rules and VLAN configurations.
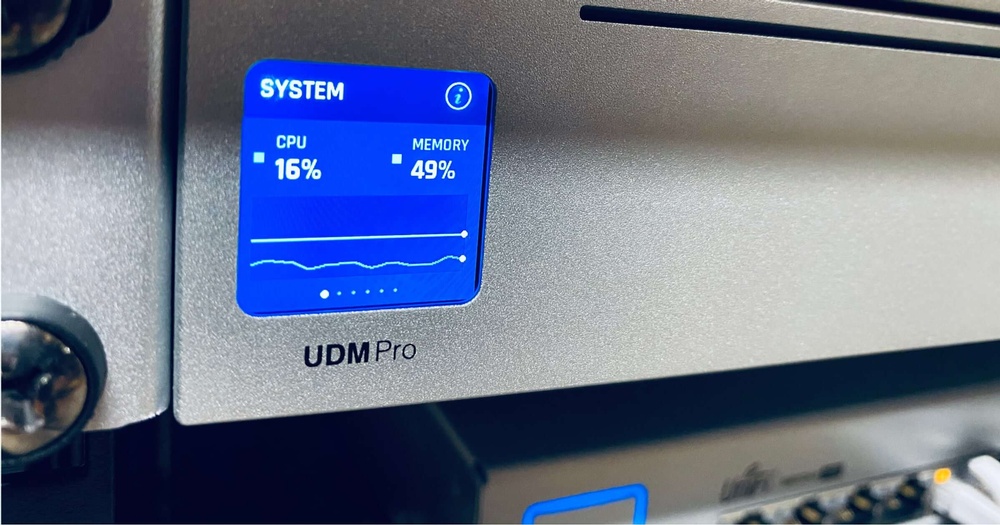
Step 9: Monitoring
The UniFi Dream Machine has robust monitoring and troubleshooting features. Use the dashboard to monitor your network performance. It includes real-time statistics and event logs. UniFi's community and support resources will be there to help you if any problems arise.
Congratulations! Congratulations! You have successfully configured and set up your UniFi Dream Machine. You now have the tools to manage your network effectively.
You can always return to the UniFi network controller and make changes as your requirements change. These tips will help you get the most out of your UniFi Dream Machine.
1. Explore Other UniFi Devices: The UniFi Dream Machine represents only a small part of the UniFi ecosystem. Consider adding UniFi switches, access points or other devices to your network in order to improve coverage, performance and security.
2. Use Guest Networks: If you wish to give internet access to your guests or to create a separate IoT network, use the UniFi Dream Machine’s guest network. You can create a separate network for guests that is secure and isolated.
3. Activate Advanced Security Features:The UniFi Dream Machine has a variety of security features, including intrusion prevention, deep-packet inspection, and Threat Management. Enable the advanced security features and update your firmware regularly to protect your network against potential vulnerabilities.
4. Setup Remote Access: UniFi offers a convenient method to manage and access your network remotely. Use this feature by enabling remote control through the UniFi app on your mobile device or by setting up an encrypted VPN connection.
5. Backup Your Configuration Regularly: It is a good idea to regularly backup your UniFi Dream Machine configuration. If you have to replace your device or encounter unforeseen problems, you will be able to quickly restore the network settings.
6. Stay Involved in the UniFi Community: UniFi is home to a vibrant community of experts and users who are always willing to share their expertise and experience. Participate in UniFi forums and browse the UniFi subreddit to stay informed and learn from others.
Following these tips, and exploring the UniFi Dream machine's capabilities will allow you to create and maintain an efficient and robust network that is tailored to your needs.

The UniFi Dream Machine is a powerful, yet user-friendly solution for networking. Following the guide in this article, and taking advantage the advanced features and tools available, you will be on your way to creating an efficient and secure network for your home or business.
Contact Loxicom for all your Networking needs!